

Kicked Out of the Kitchen
Sometime this spring I got kicked out of the kitchen where I had been washing my fossils and prepping them on the kitchen table. I’m not sure if it was the counters full of rock with no room to prepare dinner or the rock dust in his food that got to Bob, but my fossil projects ended up in the attached garage.
Up until last week, I was working on a card table and a 20″x 20″ rolling metal stand. So this is a huge improvement! The only things I had to buy were a sheet of 3/4 inch plywood and two multi-socket plugins. I had some scrap lumber, leftover deck stain, and repurposed most everything else. And has this ever improved my life! I should have done it last winter!
Wood Table
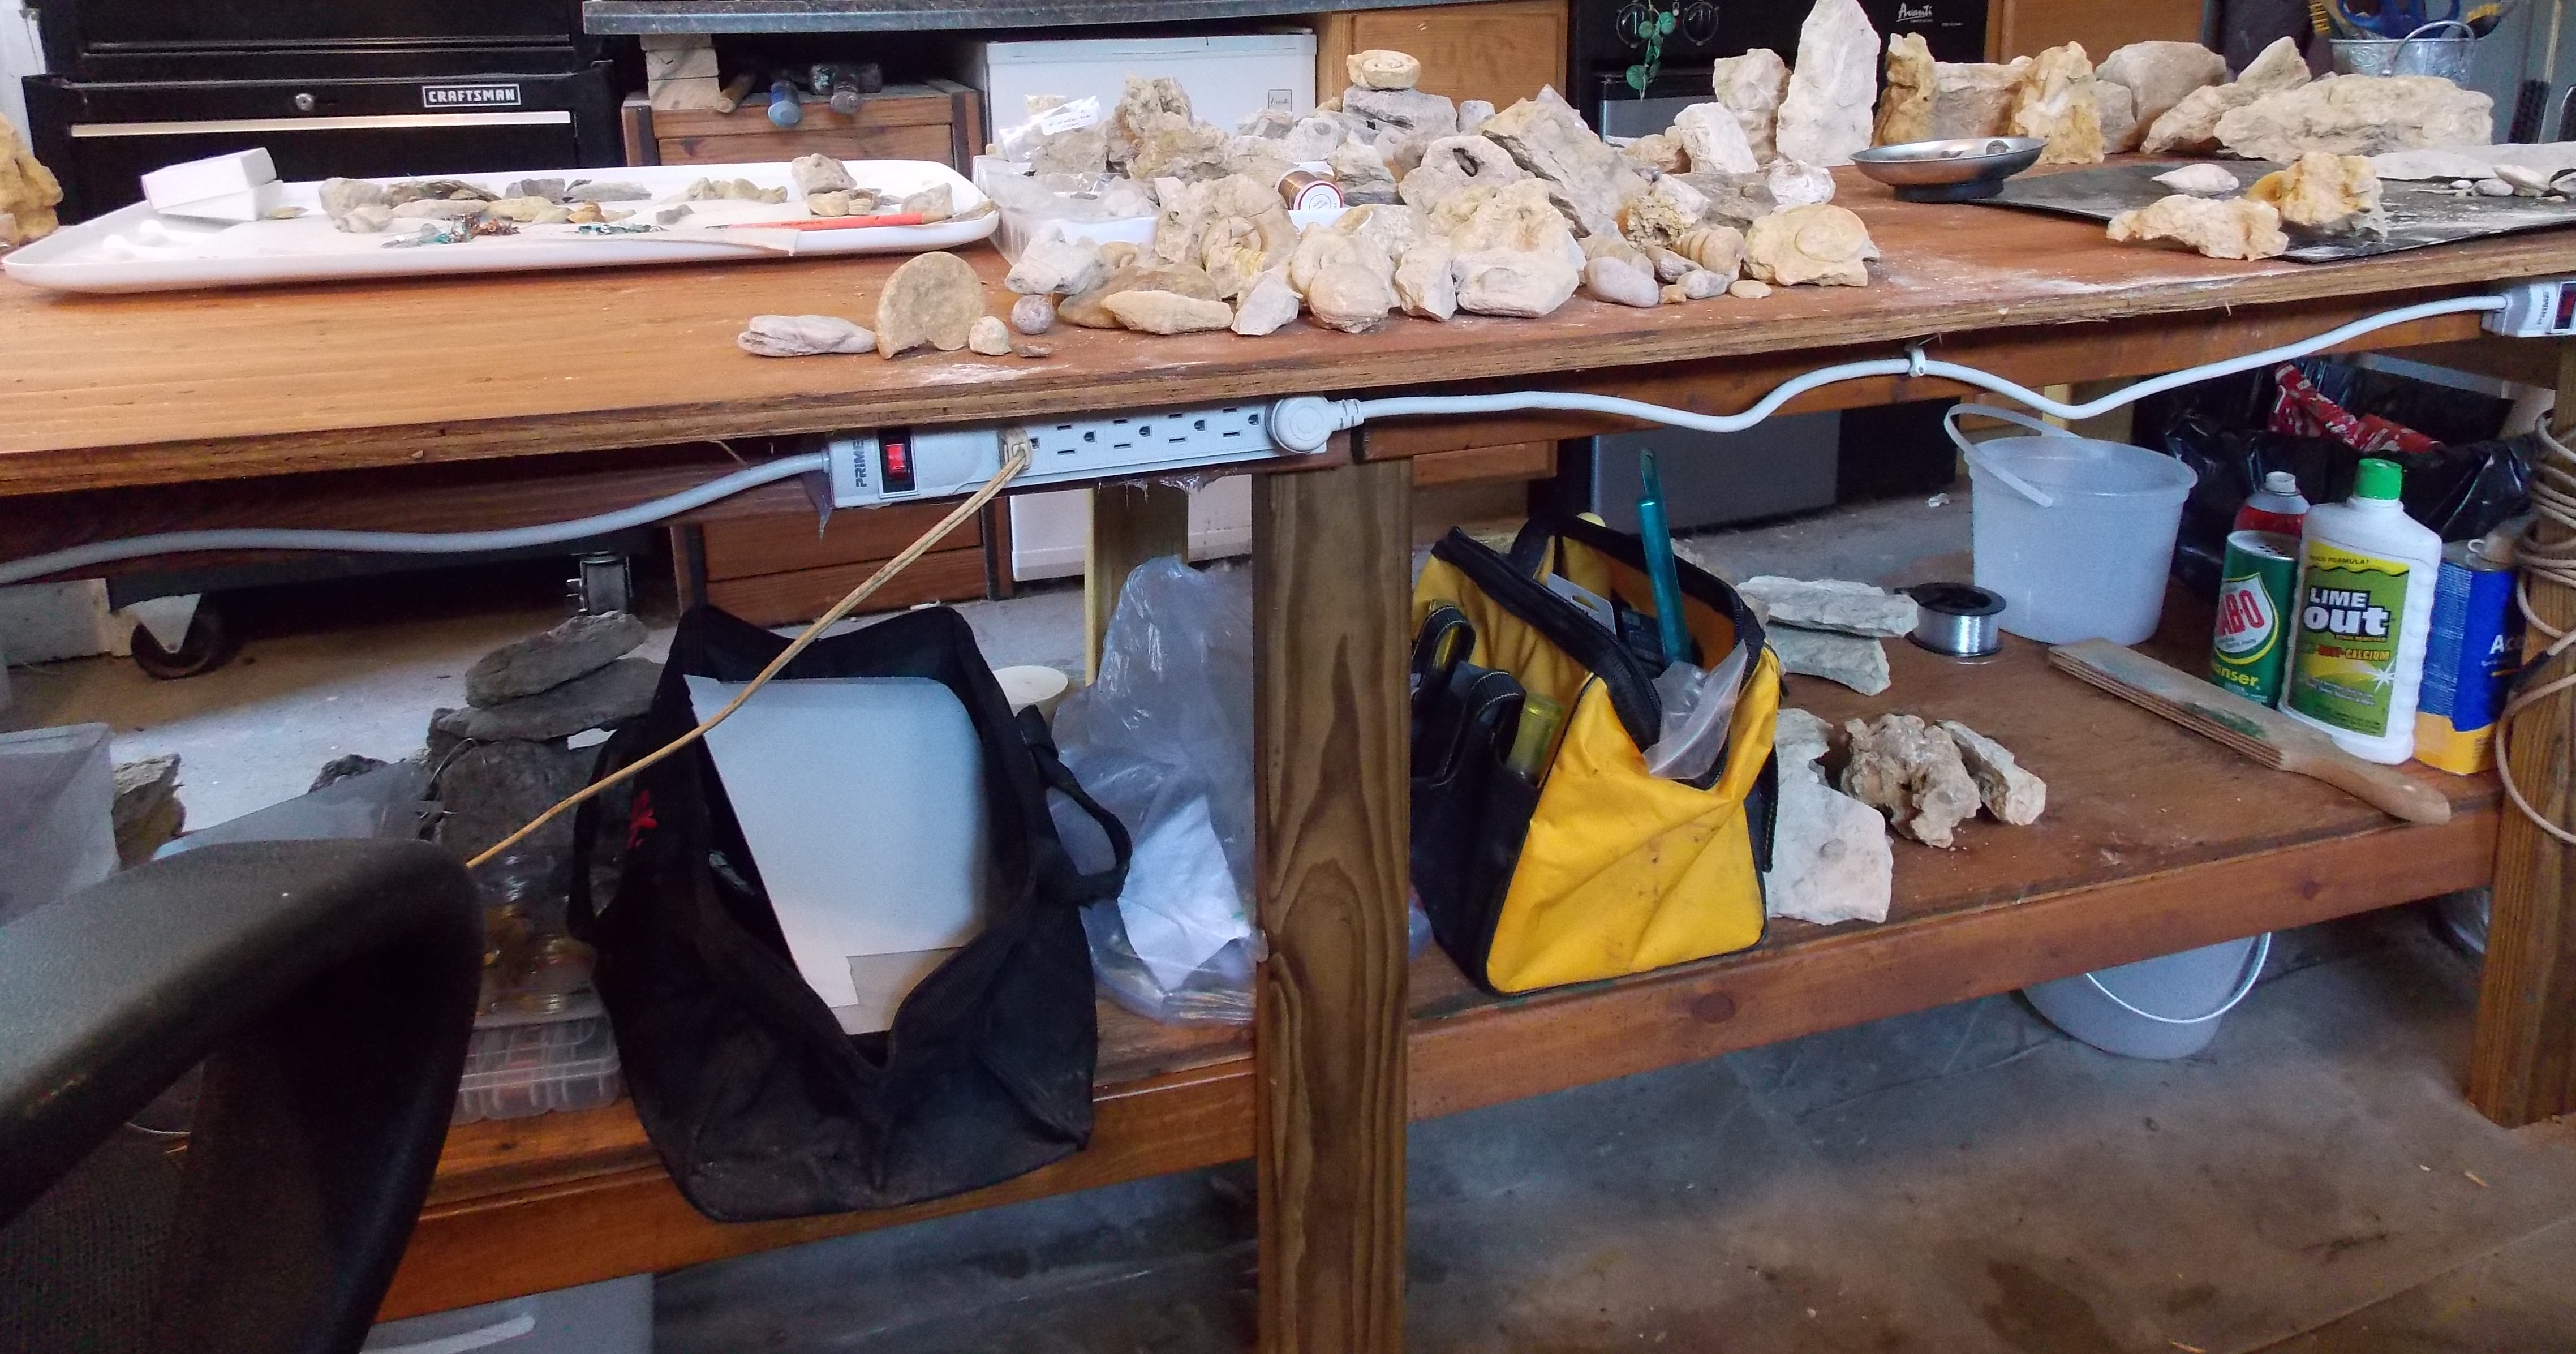
I had the lumberyard cut the 4′ x 8′ sheet of plywood into a 30″ x 8′ piece then 3 – 6″ x 8′ pieces. They charged me a couple of dollars, well worth it! And bought a handful of 2″ screws.
I then rummaged through my 2×4 scraps and found 6 pieces I could cut down to 28″ each – leg on each end and two in the middle. After some head scratching, I decided to make the base 84″ x 24″. This would give me a 3″ overhang on either side and 6″ on both ends. I put the 6″ plywood on one side and both ends, and it looked rather deep to sit on my rolling chair and get under it (as it turned out it didn’t matter). This is an “organic” build, figure it out as you go. 😀
So I found some 1″ x 3″ scraps, denailed them and made them work for the final side. Then I decided it wasn’t sturdy enough to handle several hundred pounds of rock. So I scavenged up 3 more pieces of 2x4s and 4 more pieces of 1x3s and created the base for a shelf. Then I scavenged some 3/4″ plywood I had laying around just wide enough for a 18.5″ shelf on the bottom that I cut that 87″ long, so I had a bit of shelf sticking out on one side purposely. And screwed it all together.
Holes for Tools
Then I drilled 3/4″ and 1″ holes in either end to hold my tools.
Holes for tools
It didn’t look so good with all the different colors of wood (some treated lumber) and I didn’t want to prime and paint the whole thing, so I applied a coat of cedar colored deck stain to it. That waterproofed it, and gave me a cleanable surface, and unified the look. So far, so good!
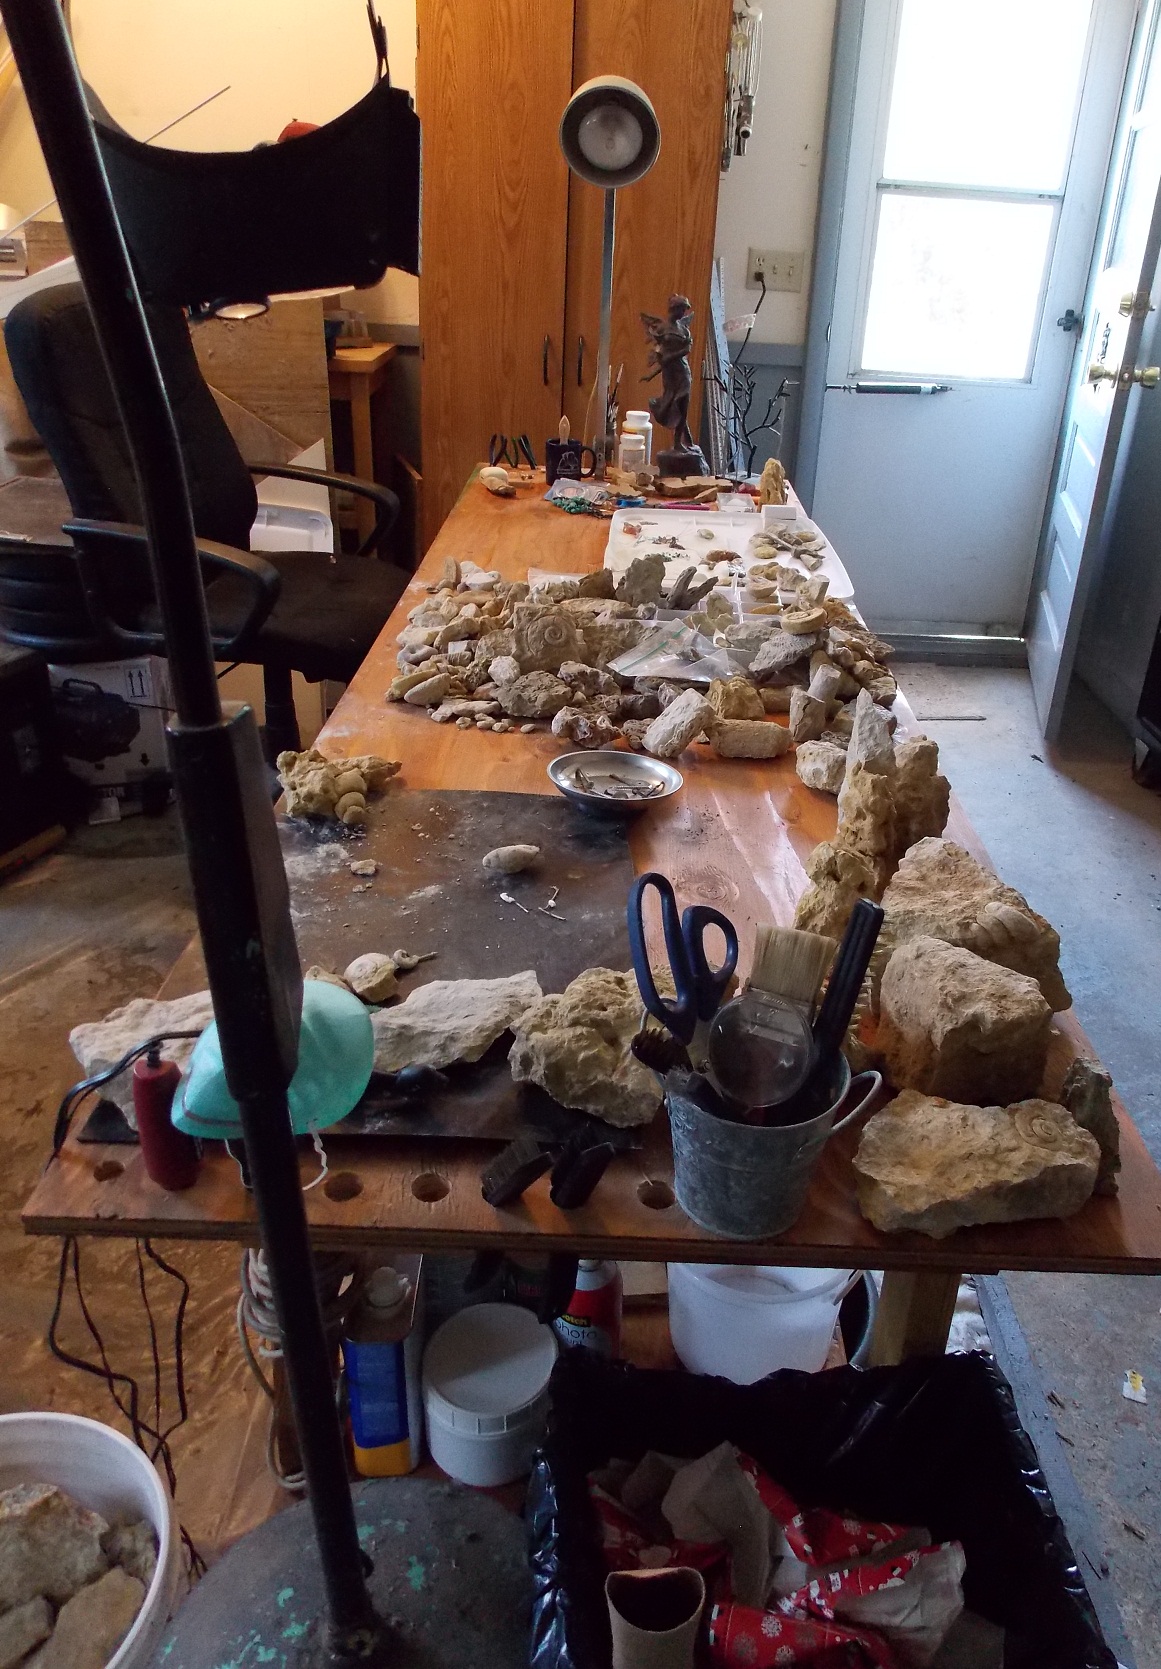
Electric on the Table
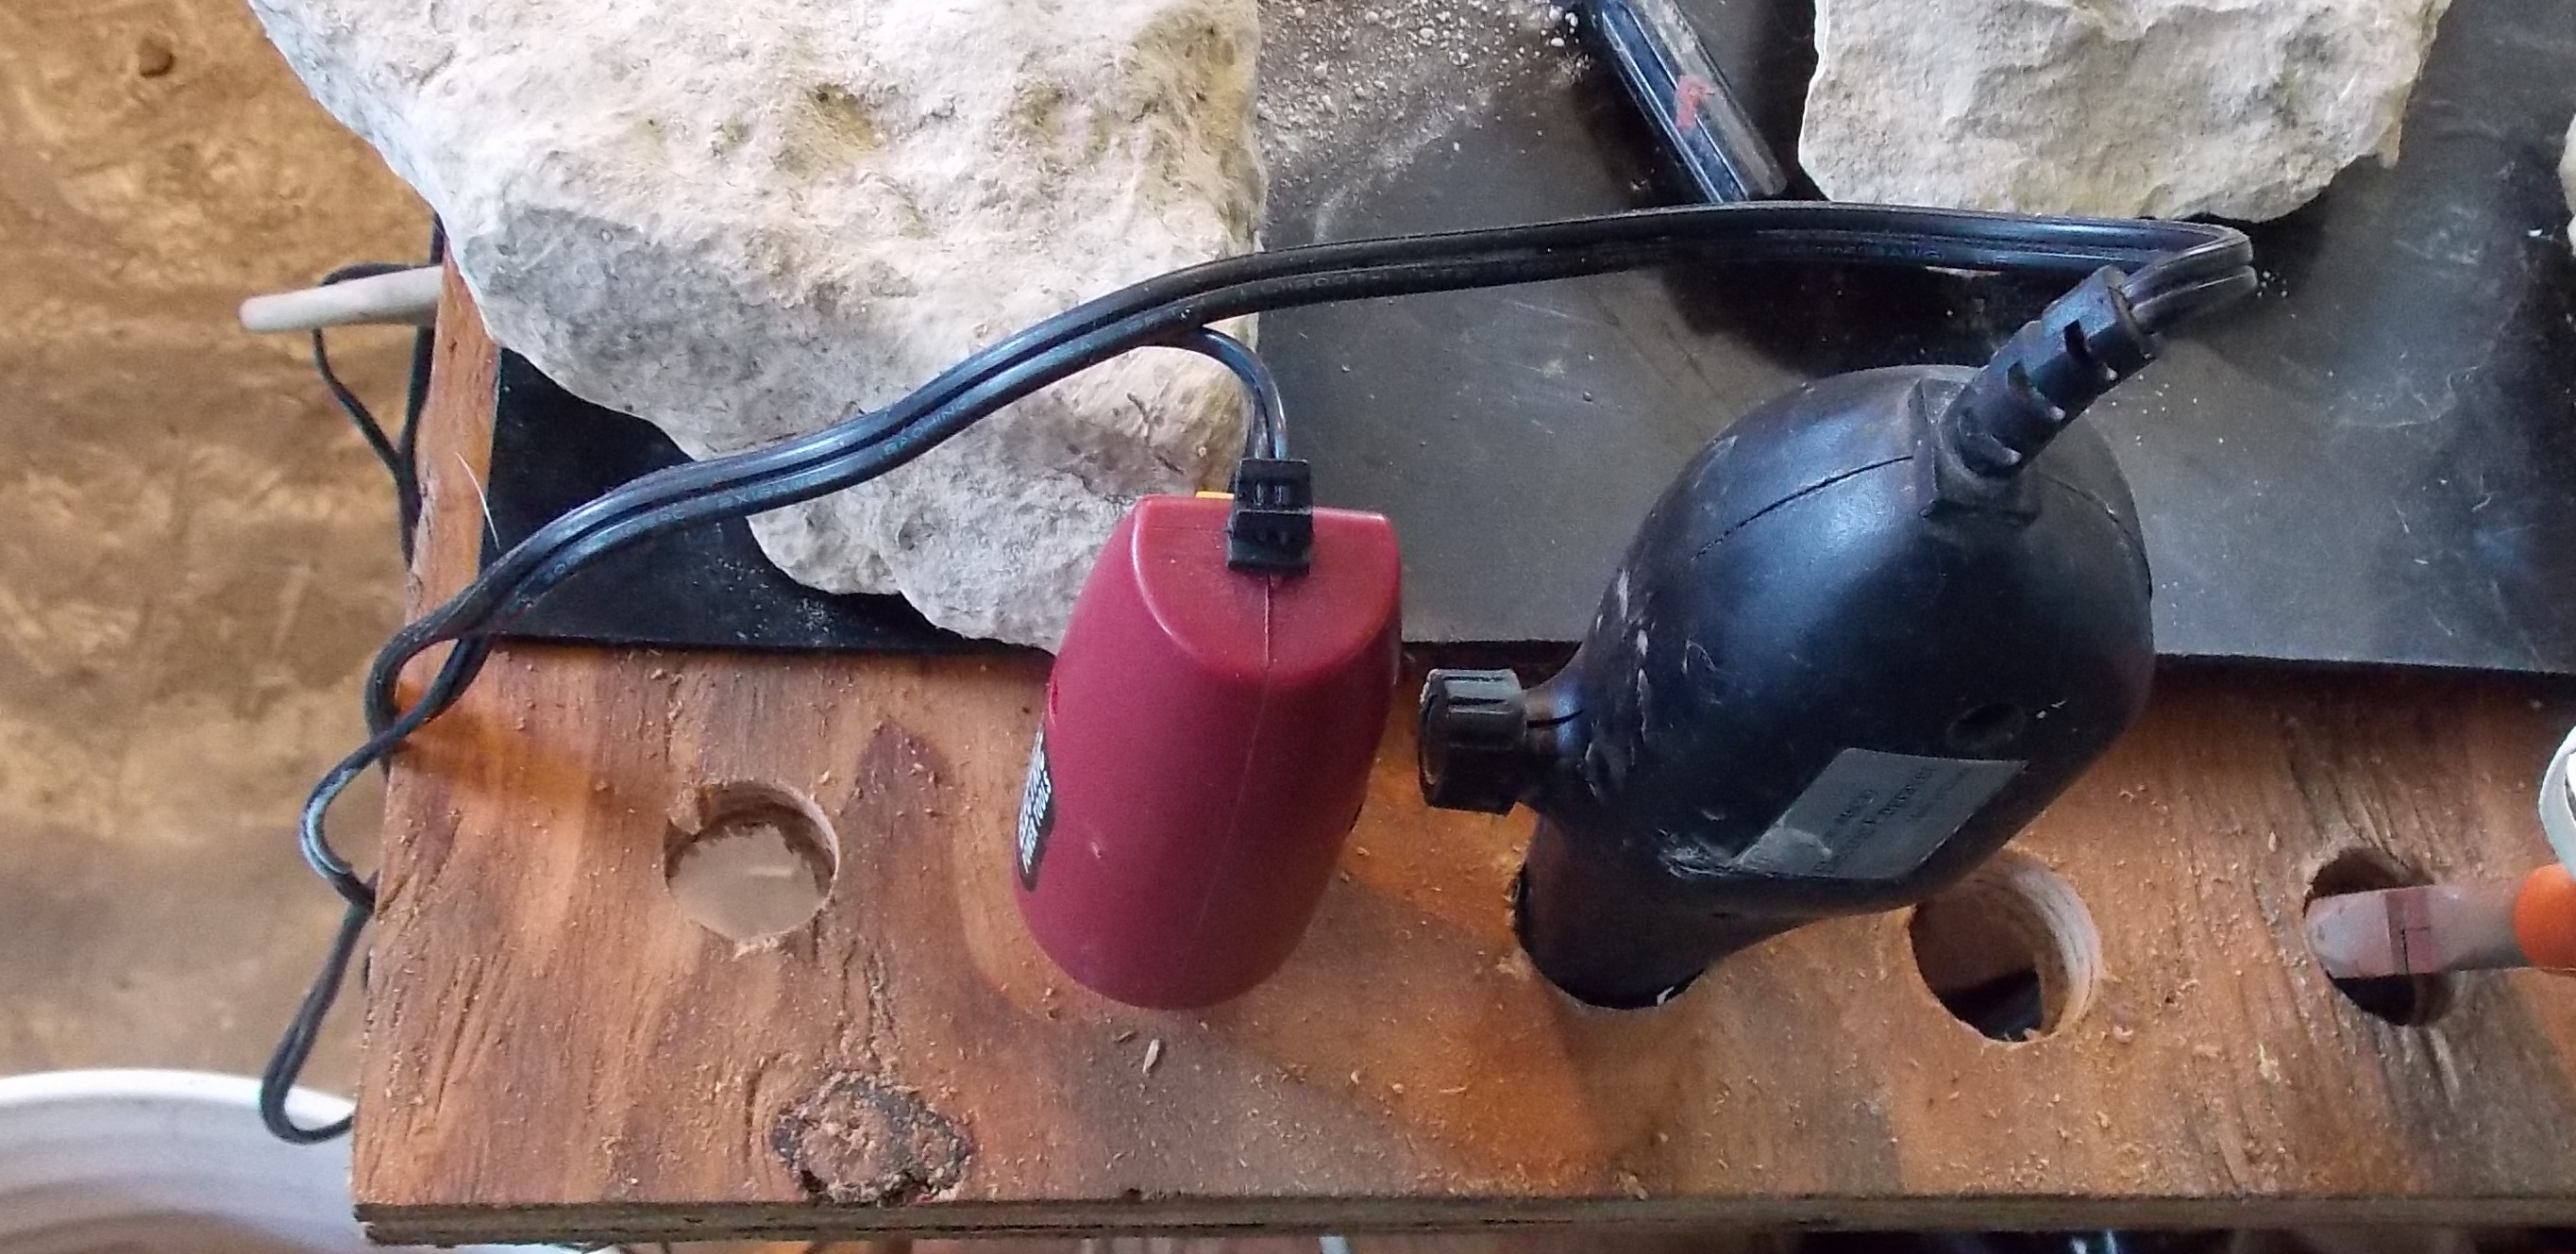
I went down to the local hardware store and bought a couple of those electric strips. Those were a pain to add to the 1×3 lip and I ended up siliconing them to it! Used a couple of hose clamps and electric wire holders to keep the cords up. I plugged one into the other and added an extention cord to the outlet. I had an old shop lamp I had picked up on a curb for free a while back and shoved the square base into a round hole–no easy trick!
-

Cobbled Electric
I found an old floor lamp in the basement for the other side, it was too short so I sat it on a five gallon bucket turned upside down, wrapped the cord around a table leg and I had light at both ends. I put a five gallon bucket on each side for junk fossils (Saving them for the Houston Nature Center’s Natural Playground grand opening in Sept. for a sandbox fossil dig for the kids.), a trash can on one side and I was in business!
So now I had 4′ of prep area and 4′ to make fossil jewelry! I put my jewelry making stuff that I use all the time in a turned over storage lid that I can push out of the way for other projects — Also handy to keep those darned beads from rolling all over. I put the jewelry making stuff on the undershelf on the far side and the prep stuff on the shelf on the prep side. I plugged in my engraver and rotary tool and with one click I have power to everything and light!
The rolling office chair that I had in the shop was ideal for going from one side to the other. And I divided the sides with a specimen sorter tray I had picked up at the MAPS Expo this spring for 50 cents. I’m feeling pretty happy at this point. But since I had agreeded to nolonger wash my fossils in the kitchen sink, I was finding that my dishpans sitting on overturned five gallon pails on the floor of the shop were a pain…
Wash Area
So I got to thinking, I remembered that out in the garden I had this old plastic wash
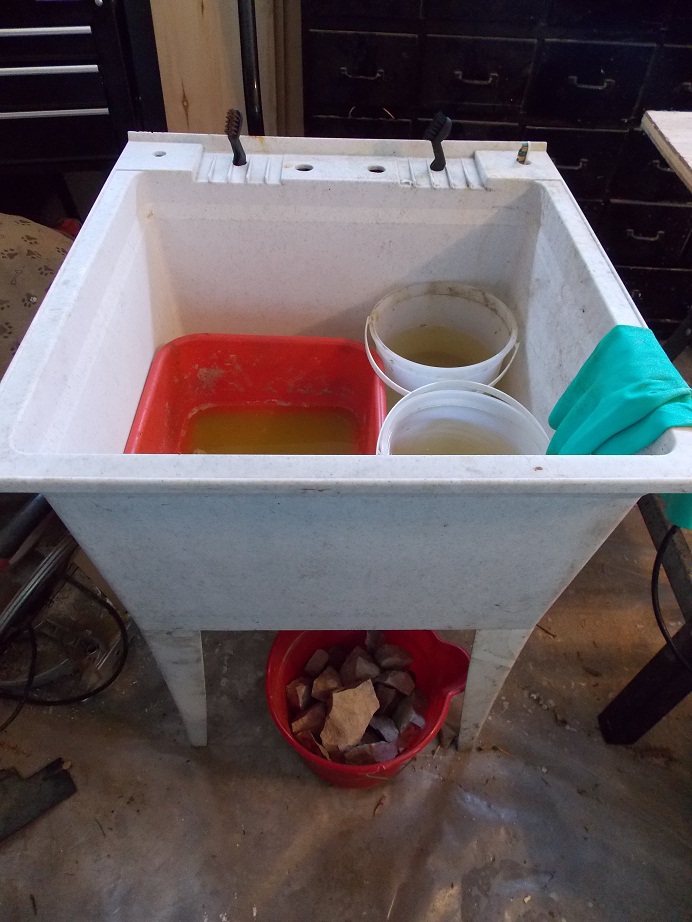
Wash area
stand, hmmmm… Brought it in, set it up, and it would fit one dish pan and two small buckets. I could live with that. I put another five gallon bucket under the drain hole and a smaller bucket to hold the rocks that I wanted to prep.
Then I decided I needed holes for prep brushes and drilled those through the plastic, not bad. Then I decided I needed something to set the rocks on to dry. I found a scrap of wood that would fit over my table saw if I screwed the blade down below the surface, upturned another storage lid and I had a very nice wash area where I could stay seated and wash my fossils. Excellent!
I also found another piece of wood that fits over the wash bin if I want more horizontal space to prep on. AND if I want to use the table saw, I just move the wood top over to the wash stand and use the saw. I like it!
Added bonus, I now have plenty of electric handy so I can plug in any number of my tools without drop cords going everywhere!
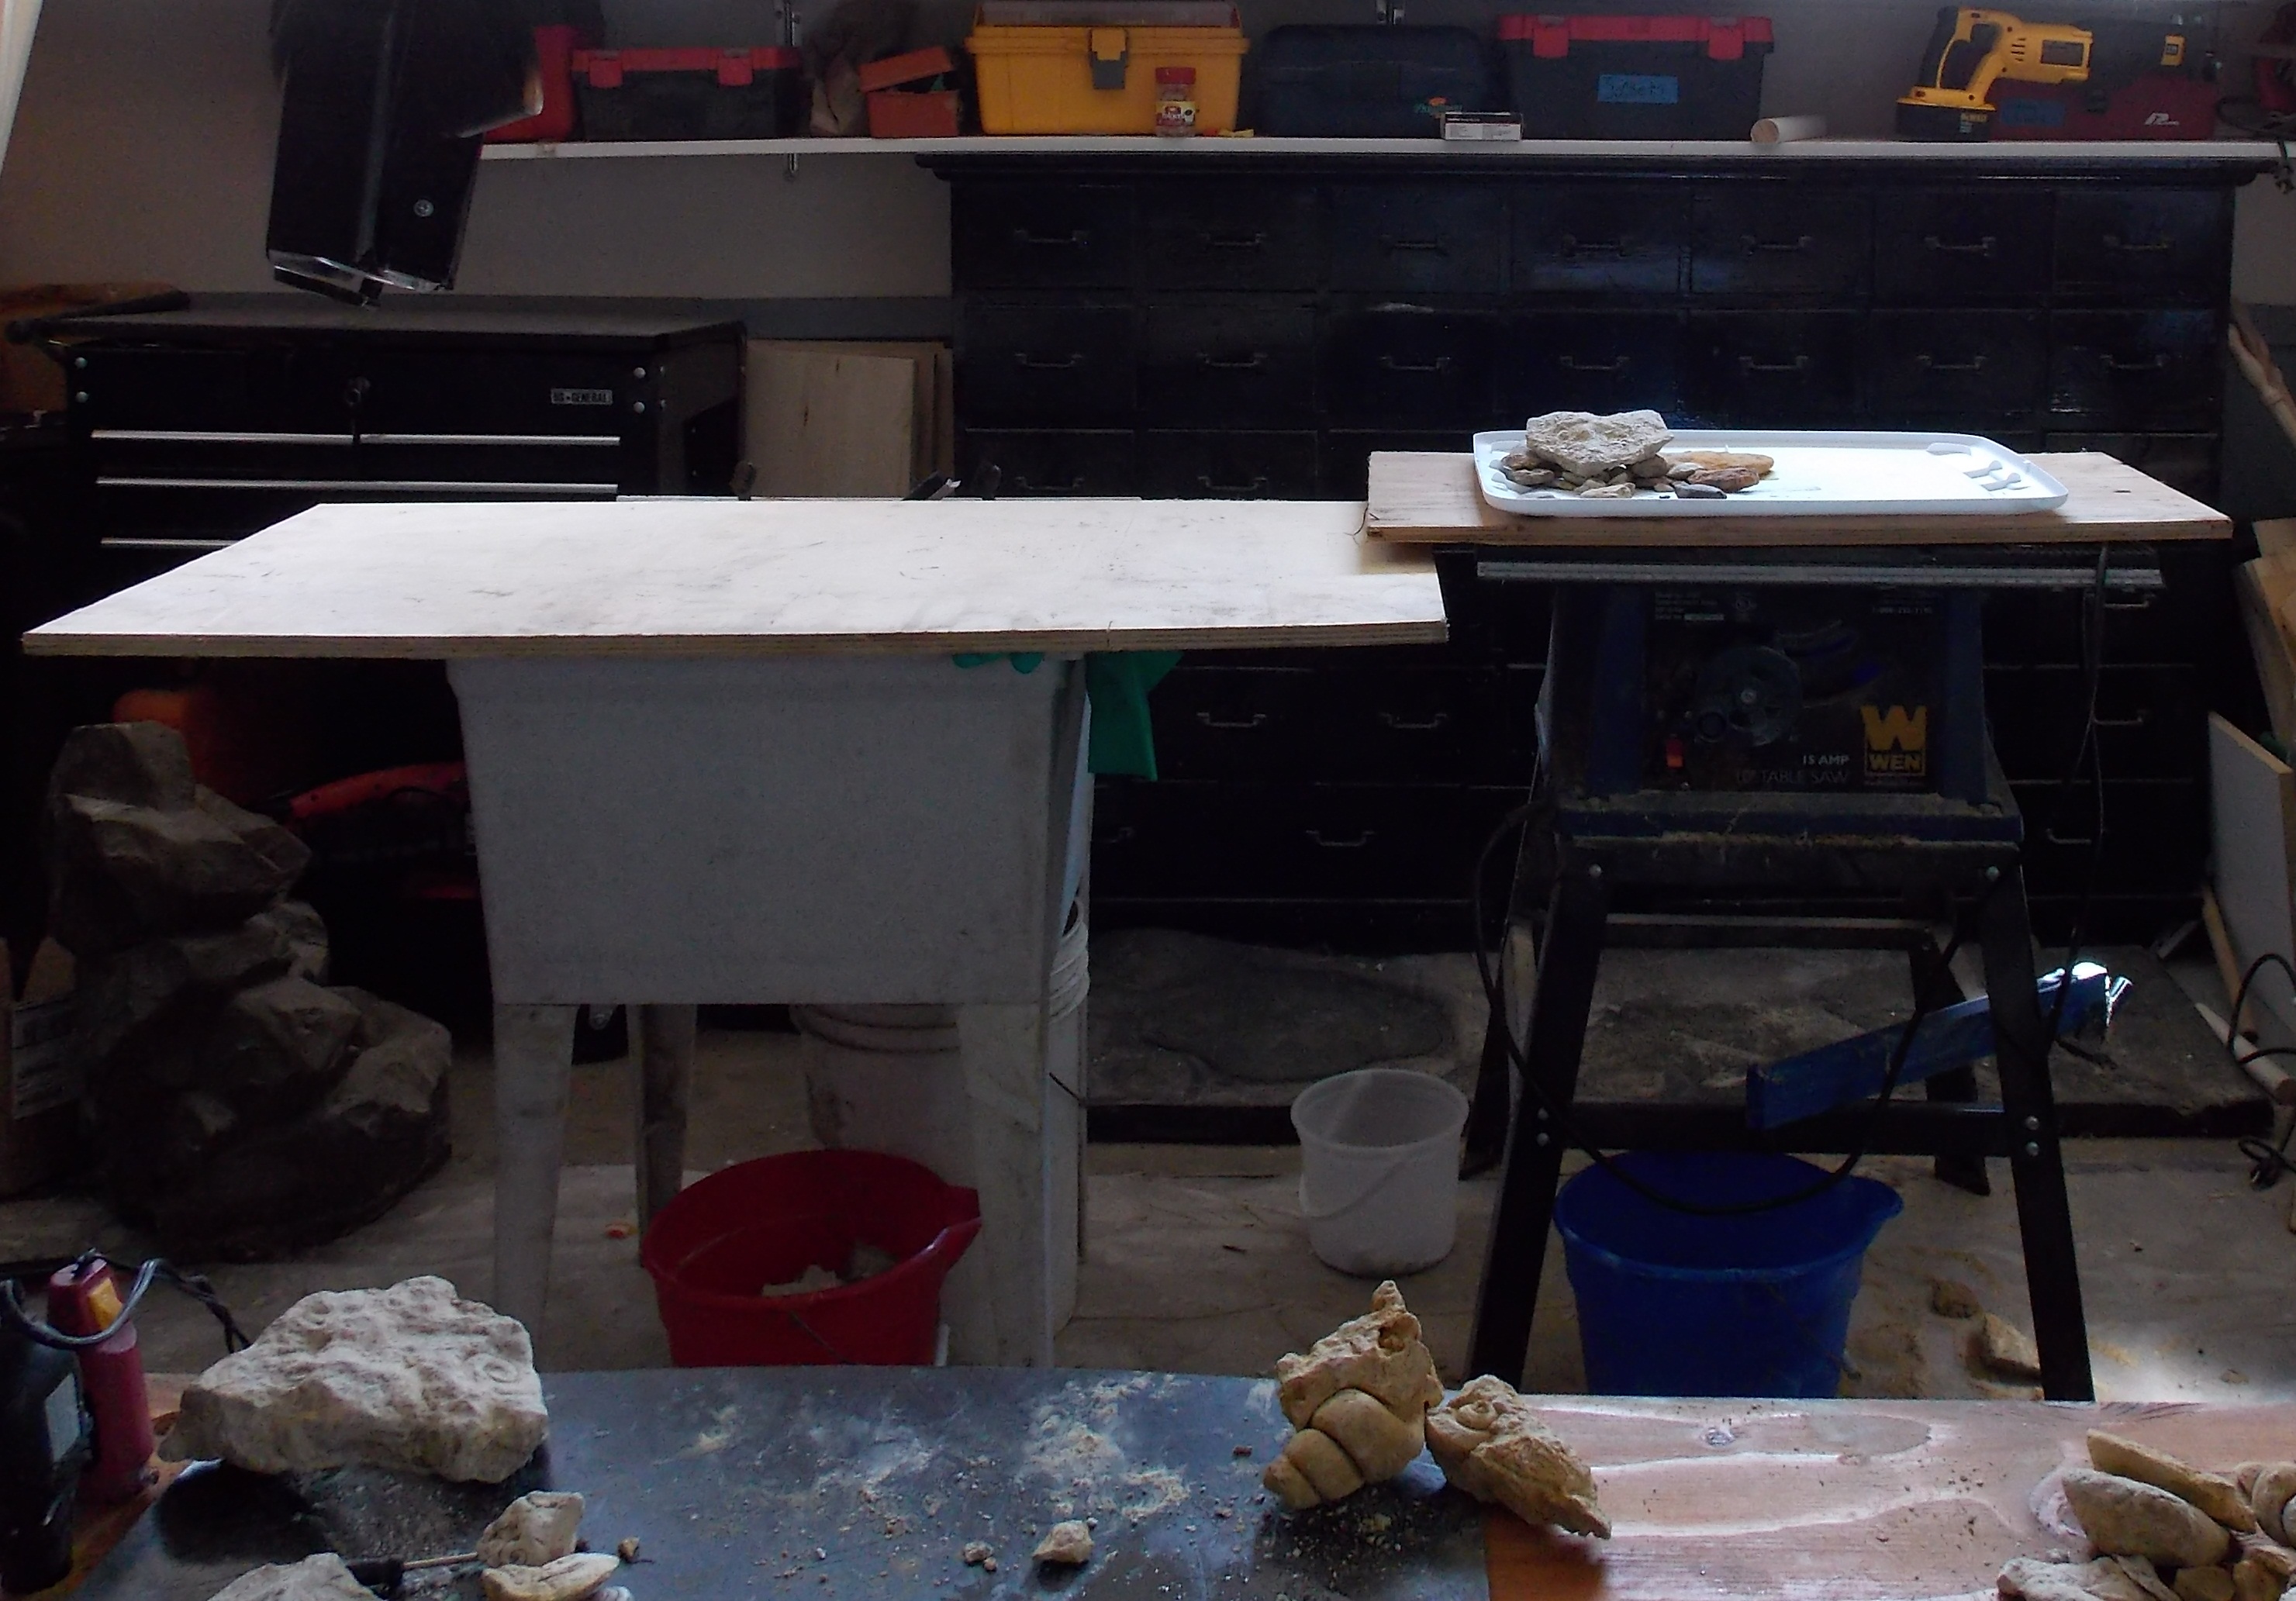
Wash, dry, more work space.
This setup allows me more workspace by far than I had. The wash stand and table saw stands are good heights for standup work (painting stuff), I have an area for crafting as well as jewelry making, which is good. And if I want to sit down with my scroll saw, I can do that too. And that old rolling metal stand? It will be perfect for my sewing machine! And I insulated the garage door last winter so all I have to do to get heat (It is MinnesOta, after all.) is prop open the door to the garage.
I have been working with this new setup for a week plus now and I really like it. I can even turn on all of the electric from across the table just by leaning over a bit. I really should have done this a long time ago. Love it!


2 Responses to My $50 Fossil Prep Area